How to Add Images Using HTML Image Tags
Adding images to a web page using HTML image tags is a straightforward process. To do so, the IMG tag should be used. This tag requires two attributes: src and alt. The src attribute specifies the location of the image file, while the alt attribute provides alternative text for users who cannot view images in their browsers.
For example, if an image named “example_image.jpg” is located in an “images” folder within the same directory as the HTML document, it can be added to a page with this code:
<img src="images/example_image.jpg" alt="Example Image" />
The width and height of an image can also be specified using additional attributes (width and height). This will ensure that images are displayed at their intended size on all devices and browsers. For example:
<img src="images/example_image.jpg" alt="Example Image" width="400px" height="300px" />
How to Use the IMG Tag for Adding Images in HTML
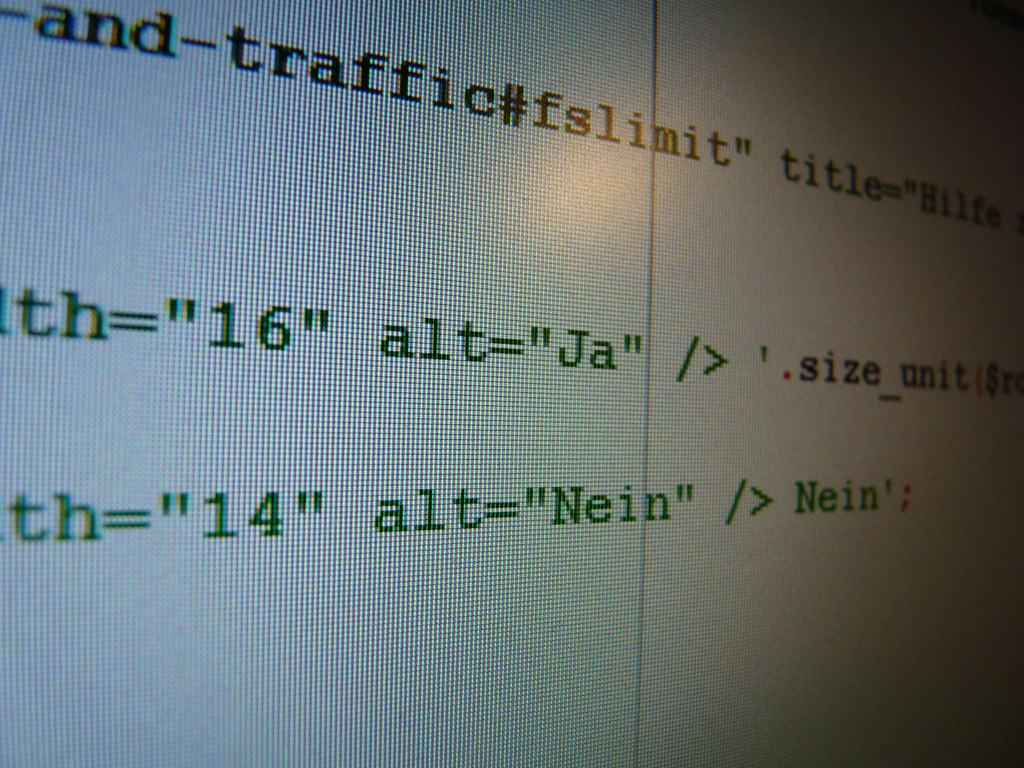
The IMG tag is used to add images to HTML documents. It is an empty element, meaning it has no content and does not require a closing tag. The IMG tag requires the use of two attributes: src and alt.
The src attribute specifies the location of the image file, which can be either a relative or absolute URL. For example:
<img src="images/myimage.jpg" alt="My Image" />
This example uses a relative URL, which means that the image file is located in a folder called “images” within the same directory as the HTML document. If you are using an absolute URL, you will need to specify the full path to where your image file is located on your server or website.
The alt attribute provides alternative text for users who cannot view images in their browsers due to slow connection speeds or other reasons. This text should provide a brief description of what appears in the image so that users can still understand its context even if they cannot see it visually. For example:
<img src="images/myimage.jpg" alt="A picture of my cat" />
In this example, users who cannot view images will still know that there was supposed to be an image of someone’s cat on this page even though they cannot see it themselves.
Finally, you may also want to include additional attributes such as width and height for specifying how large (or small) you want your image displayed on screen; border for adding borders around your images; title for providing additional information about an image when hovered over with a mouse cursor; and class or id for styling purposes with CSS code if desired (although these are not required).
Tips for Optimizing Your Images for Web Pages
1. Choose the Right File Format: JPEGs are the most common file format for web images, as they offer a good balance between image quality and file size. PNGs are also popular, but should only be used if you need to preserve transparency or require higher quality images.
2. Resize Your Images: Make sure your images are no larger than necessary for their intended use on your website. Large images can slow down page loading times and negatively impact user experience.
3. Compress Your Images: Use an image compression tool to reduce the file size of your images without sacrificing too much quality. This will help speed up page loading times and improve user experience on your website.
4. Use CSS Sprites: If you have multiple small icons or graphics that you want to display on a single page, consider using CSS sprites instead of individual image files for each icon or graphic element – this will reduce HTTP requests and improve page loading times significantly!
5. Optimize Image Alt Text: Make sure all of your web images have descriptive alt text that accurately describes what is being shown in the image – this helps search engines understand what is being displayed in an image, which can help with SEO efforts!
Understanding the Different Image Formats and Their Uses in HTML
Images are an important part of any website, and understanding the different image formats available is essential for creating a successful web page. HTML supports several image formats, each with its own advantages and disadvantages.
The most common format used in HTML is the Joint Photographic Experts Group (JPEG) format. JPEGs are best suited for photographs or complex images with many colors because they can be compressed to a small file size without sacrificing too much quality. However, JPEGs do not support transparency or animation, so they should not be used for logos or icons that require these features.
The Graphics Interchange Format (GIF) is another popular image format used in HTML. GIFs support transparency and animation, making them ideal for logos and icons that need to stand out on a web page. They also have relatively small file sizes compared to other formats like PNGs or TIFFs; however, GIFs only support 256 colors which can make them unsuitable for photographs or complex images with many colors.
Portable Network Graphics (PNG) files are similar to GIF files but offer better compression capabilities while still supporting transparency and animation features. PNG files also allow up to 16 million colors which makes them suitable for photographs as well as logos and icons that require transparency effects such as drop shadows or glows. The downside of using PNG files is their larger file size compared to other formats like JPEGs or GIFs; however, this can be offset by using lossless compression techniques when saving the image file from an editing program such as Photoshop before uploading it onto your website’s server space.
Finally, there are Tagged Image File Format (TIFF) images which offer high-quality resolution but come at the cost of large file sizes due to their uncompressed nature; therefore they should only be used when absolutely necessary such as when printing out documents from a website where high-resolution images are required on paper copies of documents being printed out from the site’s server space onto physical paper copies via printers connected directly into computers running software programs like Adobe Acrobat Reader DC Pro Edition etcetera etcetera…
In conclusion, understanding the different types of image formats available in HTML will help you create effective websites that look great while still loading quickly due to optimized file sizes based on what type of content you need displayed on your site’s pages at any given time!